Setting up a dynamic DNS provider on a raspberry pi 3
• 2
minutes read time
• Paul Fearn![]()
To set up our site without a static IP address, we’re going to need a dynamic dns provider. This isn’t the most practical way of doing this if you want to achieve the old 5 9s uptime, but as this is a test, I will build it this way and see what happens.
The dynamic dns provider that I have chosen is duckdns. They are free and offer instructions for many platforms (including the raspberry pi). If you want to use them too, you can follow my guide (or theirs for that matter).
Create an account at duckdns.org or simply sign in using google (this is what I did).
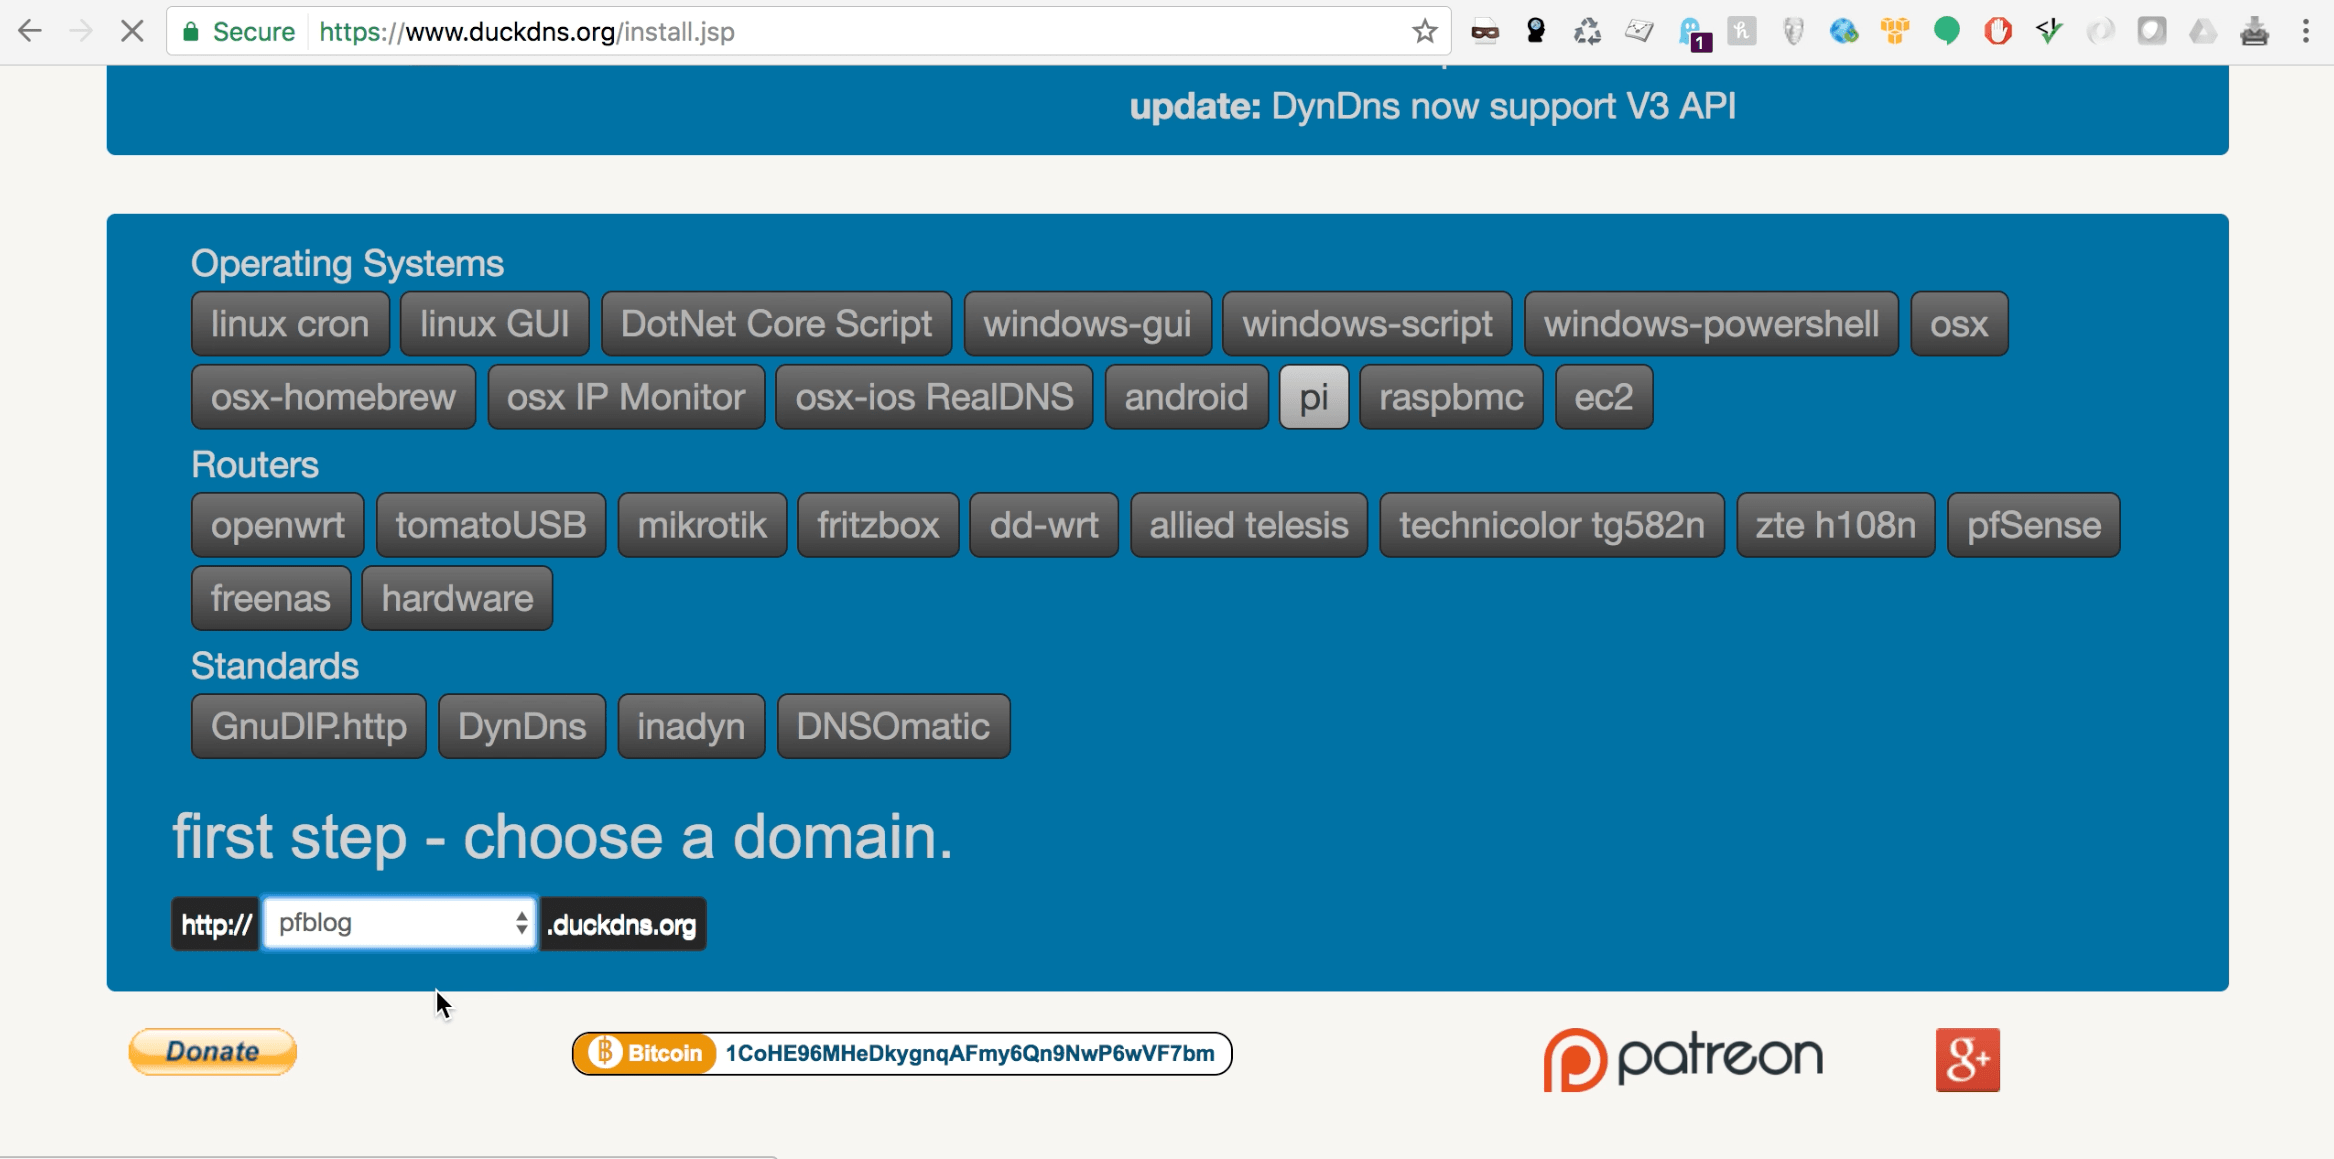
Enter your domain of choice, if it’s available it will be created. I chose “pfblog.duckdns.org”
 duckdns
Select “install” from the top menu and select “pi” as your operating system and then select your domain from the drop down.
 duckdns setup
Scroll further down to view the instructions for the pi. I will place the commands here if you’d prefer to follow this.
ssh pi@<your-pi-ip-address>
I usually create the script in the home area for pi (this should be where you landed after logging in via ssh). Enter the following:
mkdir duckdns
cd duckdns
vi duck.sh
Insert the following into the duck.sh file:
echo url="https://www.duckdns.org/update?domains=<your-domain>&token=<your-token>&ip=" | curl -k -o ~/duckdns/duck.log -K -
My command for this would include pfblog and a token:
echo url="https://www.duckdns.org/update?domains=pfblog&token=9ddc97fg-edited-token-172f608be826&ip=" | curl -k -o ~/duckdns/duck.log -K -
Save the file (:wq) then:
chmod 700 duck.sh
This is where I usually change the editor to vi so I can set the crontab using that:
sudo export EDITOR=vi
crontab -e
Paste this line at the bottom:
*/5 * * * * ~/duckdns/duck.sh >/dev/null 2>
This means we will be checking if our IP has changed every 5 minutes.
Save the crontab (:wq) and test:
./duck.sh
cat duck.log
KO means we have a problem, probably with the domain or token. OK means we have succeeded.
Now we’ll need to setup our router for port forwarding.